{"BIKE SHOP" - PT. 3 - BEER CAP MAGNETS}
Saturday, June 28, 2014
Life has been full speed ahead, not giving me much time to focus on finishing this bike shop, but alas I've made some progress! For those who haven't been following, I started organizing my husband Dan's bike shop, which has been a place I havn't dared organize for years. In the first post, we cleared out the clutter. Next, I updated baskets and buckets with just a little bit of paint in the second update.
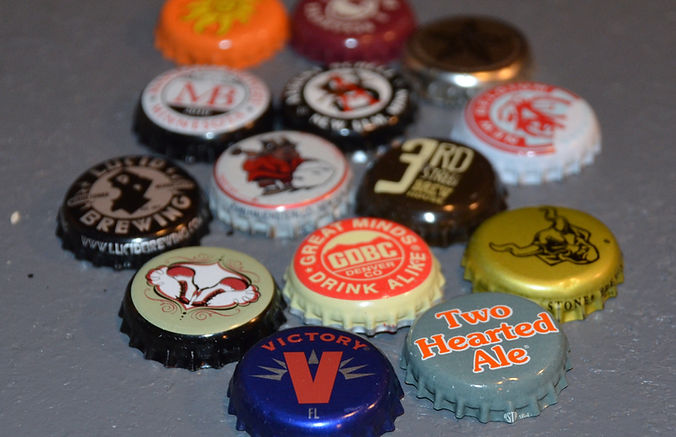
Today, I'm sharing a quick, fun and inexpensive project that most men will find it in thier hearts to love - Beer cap magnets!
{Neat Little Nest}
These beer cap magnets are so easy to make and a great craft to make with the kids. The first step (once you've made sure the caps are free of any dust or debris), is to simply put a dot of glue on the back of each beer cap. The glue I used was Elmer's ProBond Advanced.
{Neat Little Nest}
{Neat Little Nest}
Once the glue was on the back, I pressed the magnet into the glue. You don't need to be a perfectionist about the glue. It's fine it is spills out the sides when you press the magnet in for two reasons: 1.) it dries clear 2.) it's on the back where no one else will even see it.
Neat Little Tip: I used mini clamps to hold some of them in place, while others I just left sit. Many of the ones I just let sit, I had to reglue. So, take the extra step and time to clamp them as I've found it helps make the bond stronger.
{Neat Little Nest}
I used the magnets to hold up pictures of Dan on a variety of his biking adventures. You can't really tell from the picture below, but the biking pictures are up on the air duct. It was a great space to decorate! I think they look pretty great and since they passed the approval of my husband, I couldn't be happier.
{Neat Little Nest}
{Neat Little Nest}
{Neat Little Nest}
I made about 20 magnets for this project for under $5 and under 10 minutes (minus drying time). I am so happy with how great they all look! I just love the variety and how they look together. This project is a great example of how a simple and innexpensive project can have a really nice impact on the overall design.
That's it for this week Nesters. I've also finished wallpapering the walls and painting the floor! Looking forward to sharing those projects with you soon.

See all the great parties this project is linked from: CLICK HERE
I would love to hear from you! What did you think of today's post?
{Neat Little Nest}
{Neat Little Nest}
{Neat Little Nest}
{Neat Little Nest}
{Neat Little Nest}
{Neat Little Nest}
{Neat Little Nest}
{Neat Little Nest}
{Neat Little Nest}
{Neat Little Nest}
{Neat Little Nest}
{Neat Little Nest}
{WHERE TO FIND}
Beer Caps- Save them after they get
Glue & Magnets - Joann's
Mini Clamp - your favorite home improvement store
{Neat Little Nest}
{Neat Little Nest}
{Neat Little Nest}


